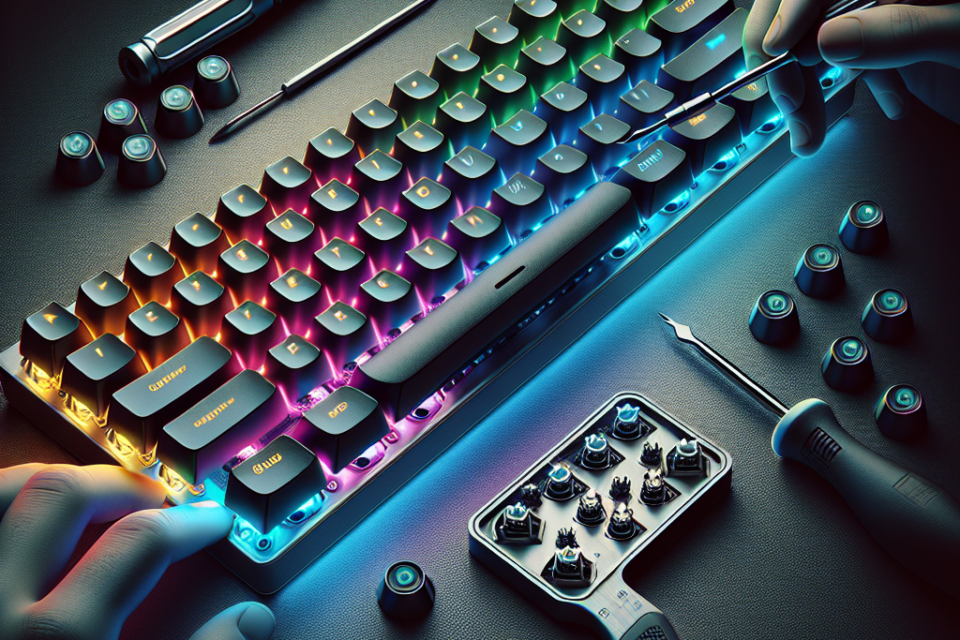
How to Fix RGB Lighting Not Working After Changing Keycaps on Your Mechanical Keyboard

Introduction
Mechanical keyboards have gained immense popularity among gamers and typists alike, thanks to their tactile feedback and customization options. One of the most sought-after features is RGB lighting, which adds a vibrant touch to your setup. However, issues can arise, particularly after changing keycaps, leading to RGB lighting not working as intended. If you’ve encountered this problem, don’t worry; you are not alone. In this guide, we’ll explore the possible reasons behind RGB lighting failures and how to resolve them effectively.
Common Causes of RGB Lighting Issues
When RGB lighting stops working after changing keycaps, several factors could be at play. Understanding these factors can help in diagnosing the issue more efficiently. Below is a list of common causes:
- Connection Problems: The keycap installation process may have unintentionally affected cable connections.
- Faulty Keycap Installation: Improper installation of the keycaps can hinder switch functionality.
- Software Settings: Changes in software settings may lead to the RGB settings being incorrect or not properly configured.
- Firmware Updates: Outdated firmware can cause compatibility issues with RGB lighting.
- Hardware Damage: Physical damage to the PCB or LED components can occur while changing keycaps.
Step-by-Step Troubleshooting Guide
Here’s a comprehensive troubleshooting guide to identify and fix the RGB lighting issues after changing your keycaps:
1. Inspect Connections
Before jumping into detailed troubleshooting, start by checking your keyboard connectivity:
- Unplug your mechanical keyboard and inspect the USB connector for any visible damage.
- Ensure the USB cable is firmly connected to both the keyboard and your computer.
2. Examine Keycap Installation
Improperly installed keycaps can lead to lighting issues:
- Carefully remove the keycaps you recently changed, ensuring you don’t damage the switches.
- Inspect each switch for any debris or bent pins.
- Reinstall the keycaps, making sure they sit properly on their corresponding switches.
3. Software Check
Next, verify the RGB settings through your keyboard’s software:
- Open the keyboard software (e.g., Razer Synapse, Corsair iCUE, etc.).
- Check if the RGB features are enabled and properly set up according to your preferences.
- Reset the software settings to default to rule out any configuration errors.
4. Firmware Update
Keeping your keyboard firmware updated is crucial for optimal performance:
- Check the manufacturer’s website for any firmware updates.
- Follow the provided instructions carefully to update your firmware.
5. Inspect for Physical Damage
If the previous steps do not resolve the issue, inspect your keyboard for any physical harm:
- Look for any visible signs of damage to the PCB (Printed Circuit Board).
- Check if any of the RGB LEDs are damaged or not functioning. If so, you may need to consult a professional for repairs.
Preventive Measures for Future Keycap Changes
To avoid facing the same RGB lighting issues in the future, consider the following tips when changing keycaps:
- Work in a Clean Environment: Minimize the risk of debris getting into your keyboard by cleaning your workspace thoroughly.
- Use the Right Tools: Invest in a keycap puller and a switch puller to prevent damage to switches and keycaps during removal.
- Be Gentle: Apply gentle pressure while removing and replacing keycaps to avoid damaging the switches.
Conclusion
RGB lighting issues after changing keycaps can be frustrating, but with our step-by-step troubleshooting guide, you can quickly identify and fix the problem. Always ensure that you handle your mechanical keyboard with care, especially when making modifications. By following preventive measures, you can maintain your keyboard’s aesthetic appeal and performance for years to come.
