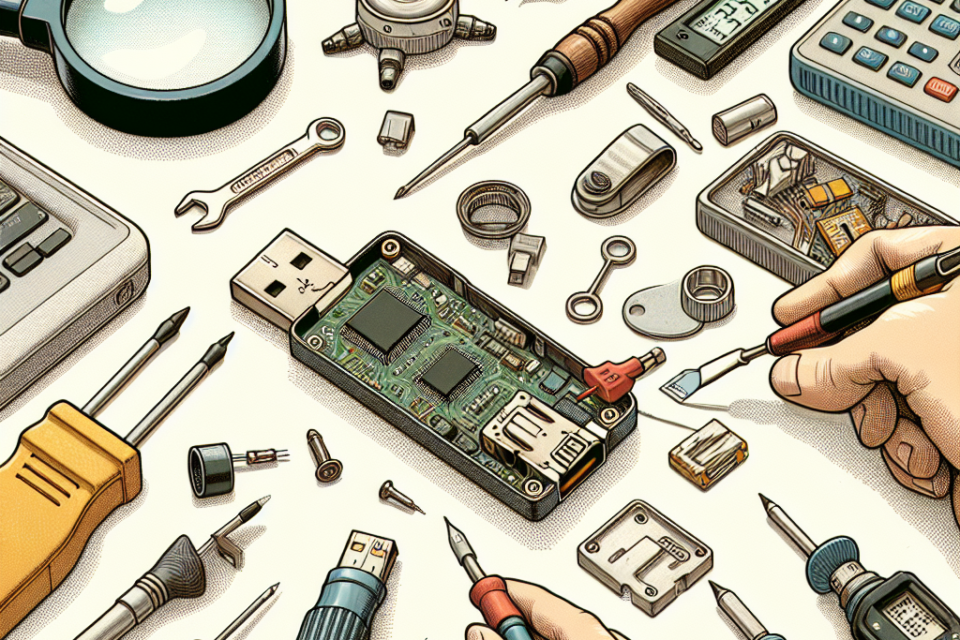
How to Repair a USB Flash Drive?

Introduction
USB flash drives are incredibly useful for portable data storage. However, like any electronic device, they can sometimes malfunction. Whether it’s a case of your computer not recognizing the drive, or you find corrupted files, understanding how to repair a USB flash drive can save you time and money. This guide provides a comprehensive look at the steps required to troubleshoot and fix a malfunctioning USB flash drive.
Common Issues with USB Flash Drives
Before diving into the solutions, it’s essential to identify the nature of the problem. Common issues with USB flash drives include:
- Drive not recognized by the computer
- Corrupted or unreadable files
- Device showing empty or missing files
- Slow performance
- Physical damage
Initial Troubleshooting Steps
Here are some initial steps to troubleshoot a malfunctioning USB flash drive:
- Try Different USB Ports: Plug the flash drive into a different USB port on your computer.
- Check on Another Computer: Insert the USB drive into another computer to determine if the issue is with the drive or the initial computer.
- Update Drivers: Go to the Device Manager and update the USB drivers.
Using Disk Management
If the initial troubleshooting steps don’t resolve the issue, you can use Windows Disk Management to diagnose and repair the drive. Follow these steps:
- Open Disk Management: Right-click on ‘This PC’ or ‘My Computer’, then select ‘Manage’. Go to ‘Disk Management’ under the ‘Storage’ section.
- Locate the USB Drive: Find the USB drive in the list of disks. It may be listed as ‘Removable’ or ‘USB Drive’.
- Change Drive Letter: Sometimes changing the drive letter can help. Right-click on the USB drive and select ‘Change Drive Letter and Paths’, then assign a new drive letter.
- Format the Drive: If changing the drive letter doesn’t work, right-click on the USB drive and select ‘Format’. Note that this will erase all data on the drive.
- Create New Partition: If the USB drive is showing as ‘Unallocated’, right-click and select ‘New Simple Volume’ to create a new partition.
Using Command Prompt
The Command Prompt can be a powerful tool for repairing a USB flash drive. Follow these steps:
- Open Command Prompt: Type ‘cmd’ in the Windows search bar, right-click on ‘Command Prompt’, and select ‘Run as administrator’.
- Use Diskpart Utility: Type ‘diskpart’ and press Enter. Then type ‘list disk’ to display all connected drives.
- Select the USB Drive: Identify your USB drive from the list and type ‘select disk X’, replacing ‘X’ with the disk number of your USB drive.
- Clean the Disk: Type ‘clean’ and press Enter. This command will remove all data from the disk.
- Create a New Partition: Type ‘create partition primary’ and press Enter.
- Format the Drive: Type ‘format fs=ntfs’ and press Enter. You can replace ‘ntfs’ with ‘fat32’ if preferred.
- Assign a Drive Letter: Type ‘assign letter=X’, replacing ‘X’ with your preferred drive letter.
- Exit Command Prompt: Type ‘exit’ to close the utility.
Preventative Measures
To avoid future problems with your USB flash drive, consider these preventative measures:
- Safely Eject the Drive: Always use the ‘safely remove hardware’ option before unplugging your USB drive.
- Avoid Physical Damage: Handle the USB drive with care to avoid accidental drops or physical damage.
- Keep Backup Copies: Always keep a backup of important files stored on your USB drive.
- Use Quality USB Brands: Invest in reliable and well-reviewed USB drives to minimize the risk of malfunction.
Conclusion
Repairing a USB flash drive can be a straightforward process if you follow the correct steps. From initial troubleshooting to using advanced tools like Disk Management and Command Prompt, this guide provides all the information you need to get your USB flash drive working again. Preventative measures can also help you avoid similar issues in the future. Remember, while software solutions can fix many problems, physical damage may require professional help or replacement of the device.
